0%

Hexo+NexT+Typora【搭建记录&使用指南】

Hexo+NexT+Typora【搭建记录&使用指南】

https://hexo.io/zh-cn/

安装Node.js

安装Git

Hexo的部署

1. 安装Hexo

请确保电脑里已经安装了 Node.js,然后在命令行(推荐直接使用)

使用 npm 命令安装Hexo

1
$ npm install -g hexo-cli

若安装速度满可以考虑替换国内的 npm 镜像源

  1. 临时替换

    1
    $ npm --registry https://registry.npm.taobao.org install express
  2. 持久使用

    1
    $ npm config set registry https://registry.npm.taobao.org

出现如下提示,则Hexo安装成功。

安装成功后,使用 hexo -v 可以查看相关包的版本,成功查询则意味着安装成功
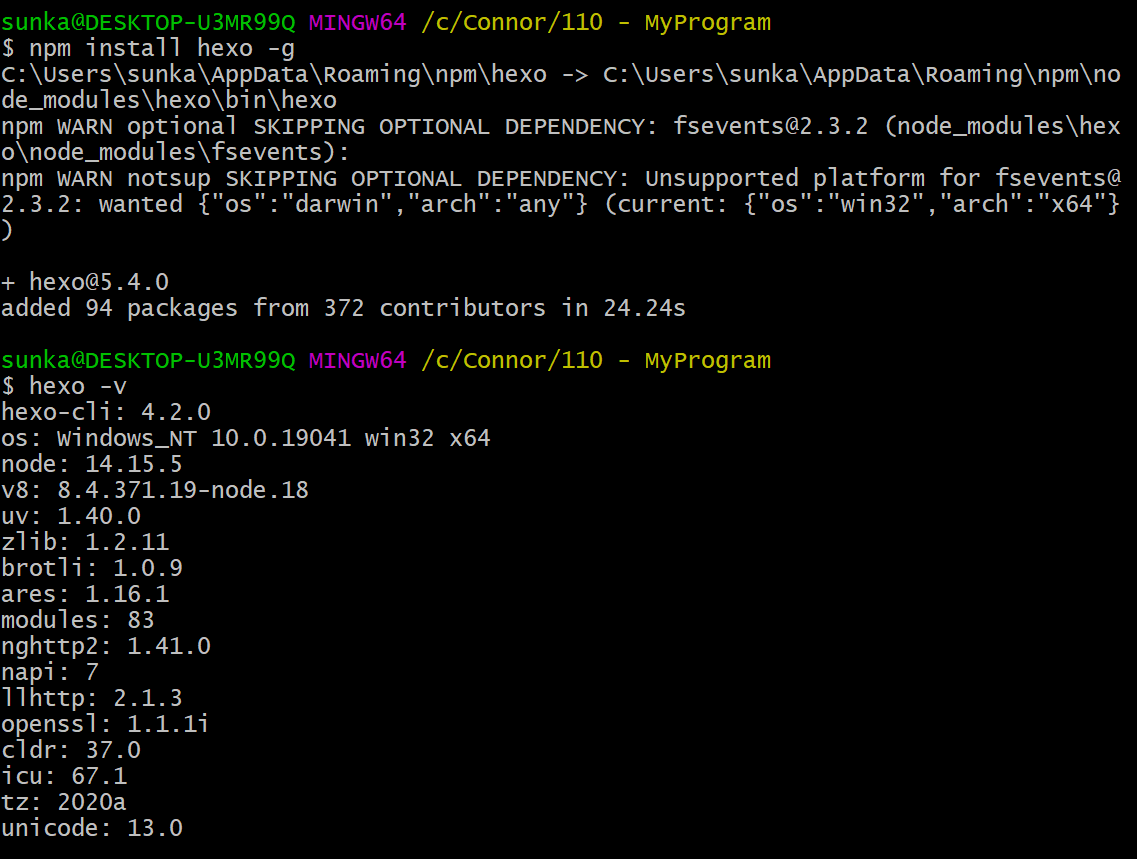
其实总共一共安装了好多次,而且 hexohexo-cli 都试过安装,最初按官网的命令安装了 hexo-cli,结果发现版本号为 4.2.0 而不是官网最新的 5.3.0。 经过几次 install uninstall 之后发现即使直接安装 hexo ,查到的版本号也会像图中一样是 hexo-cli: 4.2.0,本文撰写时最新版的 hexo-cli 就是 4.2.0。 (后面才知道 CLI 是命令行的意思,说起来有点丢人。)

2. 初始化Hexo

安装成功后就可以开始Hexo的部署了,在Git Bash中 cd 到你想要的目录,或直接在想要的目录下右键选择 Git Bash Here,输入命令:

1
2
3
$ hexo init <yourHexoFolder>
$ cd <yourHexoFolder>
$ npm install
  • 使用初始化命令后会在当前路径下新建名为 <yourHexoFolder> 的文件夹,并将需要的文件从Github仓库 Clone 克隆到其中;
  • 其中 <yourHexoFolder> 可以是任意你想要的文件夹名称;
  • 注意:尽量使用Git Bash进行初始化,CMD无法执行 Clone 操作,这一步会报错。

上述命令运行后,路径中会产生如下文件和文件夹

1
2
3
4
5
6
7
8
9
10
11
12
.
├── node_modules
├── scaffolds
├── source
| ├── _drafts
| └── _posts
└── themes
├── .gitignore
├── _config.yml
├── _config.landscape.yml
├── package.json
└── package-lock.json

3. 启动Hexo服务器

在Git Bash中输入以下命令即可运行

1
$ hexo server

接下来打开浏览器访问网址:http://localhost:4000/ 将会出现如下画面:
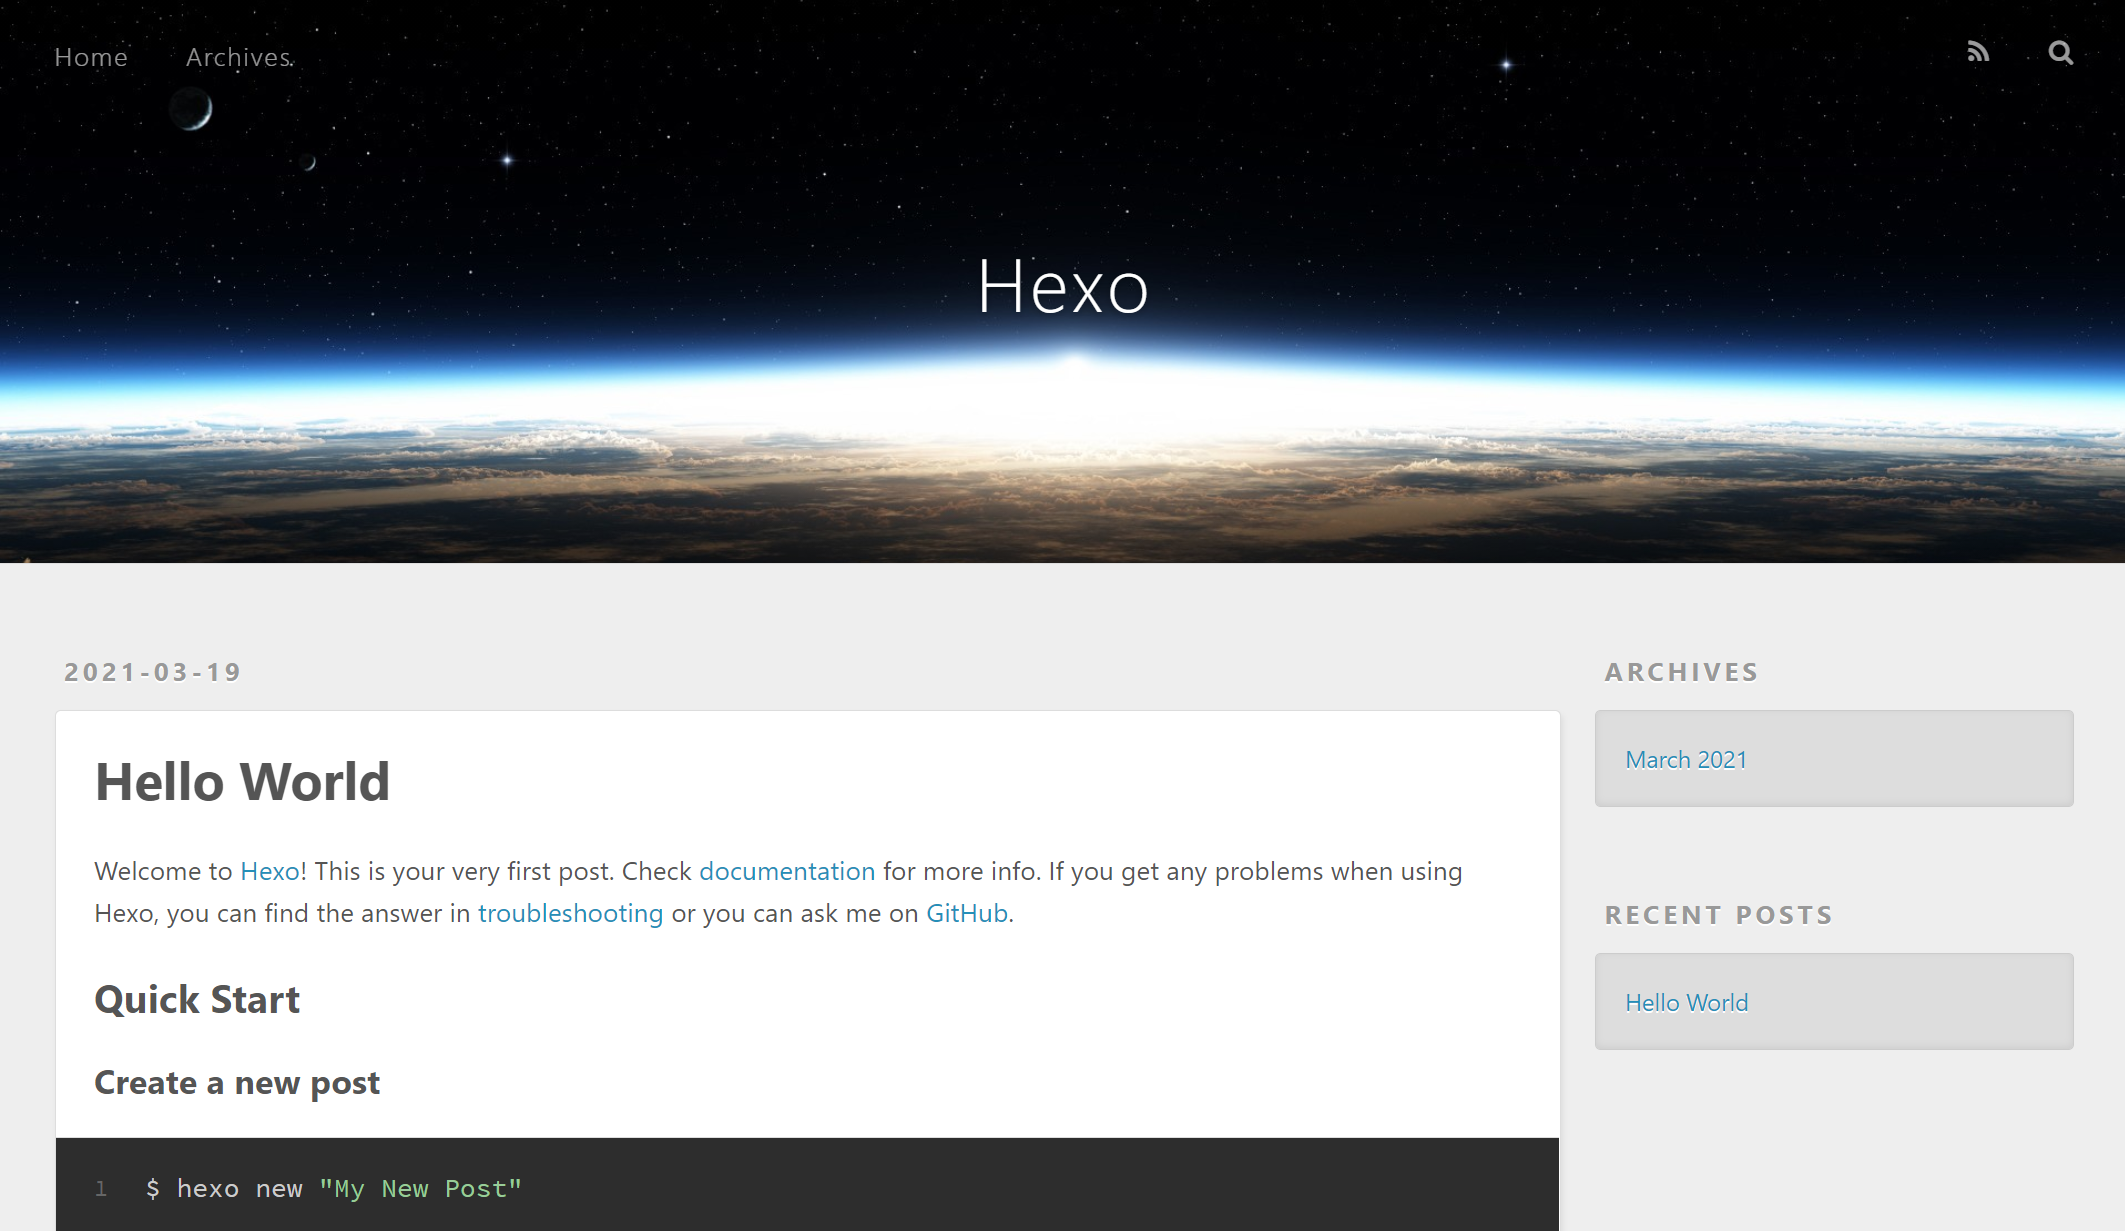
Hexo默认页面

至此,Hexo博客的部署就已经完成了。

NexT 主题

主题安装

依照Next主题 Github页面 的指示,克隆主题到Hexo的主题文件夹中

1
2
$ cd <yourHexoFolder>
$ git clone https://github.com/theme-next/hexo-theme-next themes/next

第一次 Git Clone 的时候报了下面的错误:

1
2
error: RPC failed; curl 28 OpenSSL SSL_read: Connection was reset, errno 10054
fatal: expected flush after ref listing

搜了下好像在 Clone 的时候经常会报这个error,都说用 git config --global http.sslVerify “false” 解决,但是我第二次尝试克隆命令就直接成功了,就没用上这个解决办法。

主题配置

常规设置

选取相应主题:本博客使用的是 Mist 主题。

1
2
3
4
5
6
7
8
9
# ---------------------------------------------------------------
# Scheme Settings
# ---------------------------------------------------------------

# Schemes
# scheme: Muse
scheme: Mist
# scheme: Pisces
# scheme: Gemini

菜单选项:打开自己需要的菜单选项

1
2
3
4
5
6
7
8
9
10
11
12
13
14
15
# ---------------------------------------------------------------
# Menu Settings
# ---------------------------------------------------------------

# Usage: `Key: /link/ || icon`
# External url should start with http:// or https://
menu:
home: / || fa fa-home
#about: /about/ || fa fa-user
tags: /tags/ || fa fa-tags
categories: /categories/ || fa fa-th
archives: /archives/ || fa fa-archive
schedule: /schedule/ || fa fa-calendar
#sitemap: /sitemap.xml || fa fa-sitemap
#commonweal: /404/ || fa fa-heartbeat

侧边栏设置:

侧边栏位置:left or right

显示规则:

1
2
3
4
5
6
# Sidebar Display (only for Muse | Mist), available values:
# - post expand on posts automatically. Default.
# - always expand for all pages automatically.
# - hide expand only when click on the sidebar toggle icon.
# - remove totally remove sidebar including sidebar toggle.
display: post

设置侧边栏的头像:

方形 圆形 旋转

1
2
3
4
5
6
7
8
# Sidebar Avatar
avatar:
# Replace the default image and set the url here.
url: /images/avatar.jpg
# If true, the avatar will be dispalyed in circle.
rounded: true
# If true, the avatar will be rotated with the cursor.
rotated: true

社交链接

1
2
3
4
5
# Social Links
# Usage: `Key: permalink || icon`
social:
GitHub: https://github.com/Connor-Sun || fab fa-github
E-Mail: mailto:sunkang.connor@outlook.com || fa fa-envelope

友情链接

1
2
3
4
5
6
7
8
9
# Blog rolls
links_settings:
icon: fa fa-link
title: Links
# Available values: block | inline
layout: block

links:
#Title: http://yoursite.com

杂项

回到顶部 back to top

1
2
3
4
5
6
back2top:
enable: true
# Back to top in sidebar.
sidebar: false
# Scroll percent label in b2t button.
scrollpercent: false

插件

加载数学公式:MathJax

参考

目前,NexT 提供两种数学公式渲染引擎,分别为 MathJaxKatex,默认为 MathJax。

如果你选择使用 MathJax 进行数学公式渲染,你需要使用 hexo-renderer-pandoc 或者 hexo-renderer-kramed 这两个渲染器的其中一个。

这里推荐使用 MathJax + hexo-renderer-pandoc,并以此为例:

  1. 因为 hexo-renderer-pandoc 依赖 Pandoc,所以首先需要安装Pandoc

  2. 站点根目录下执行下列命令,卸载原有的渲染器 hexo-renderer-marked,然后安装 hexo-renderer-pandoc

    1
    2
    $ npm uninstall hexo-renderer-marked --save
    $ npm install hexo-renderer-pandoc --save
  3. 编辑主题配置文件

1
2
3
4
5
6
7
8
9
10
11
12
13
14
# Math Formulas Render Support
math:
# Default (true) will load mathjax / katex script on demand.
# That is it only render those page which has `mathjax: true` in Front-matter.
# If you set it to false, it will load mathjax / katex srcipt EVERY PAGE.
per_page: true

# hexo-renderer-pandoc (or hexo-renderer-kramed) required for full MathJax support.
mathjax:
enable: true
# See: https://mhchem.github.io/MathJax-mhchem/
mhchem: false


设置Pjax

  1. Go to NexT dir

    1
    $ cd themes/next
  2. Get module

    1
    $ git clone https://github.com/theme-next/theme-next-pjax source/lib/pjax
  3. Set it up

    1
    2
    # Easily enable fast Ajax navigation on your website.
    pjax: true

永久链接

hexo-abbrlink

Add plugin to Hexo:

1
npm install hexo-abbrlink --save

Modify permalink in config.yml file:

1
permalink: posts/:abbrlink/

There are two settings:

1
2
alg -- Algorithm (currently support crc16 and crc32, which crc16 is default)
rep -- Represent (the generated link could be presented in hex or dec value)
1
2
3
4
5
6
7
8
9
10
11
12
13
14
# abbrlink config
abbrlink:
alg: crc32 #support crc16(default) and crc32
rep: hex #support dec(default) and hex
drafts: false #(true)Process draft,(false)Do not process draft. false(default)
# Generate categories from directory-tree
# depth: the max_depth of directory-tree you want to generate, should > 0
auto_category:
enable: true #true(default)
depth: #3(default)
over_write: false
auto_title: false #enable auto title, it can auto fill the title by path
auto_date: false #enable auto date, it can auto fill the date by time today
force: false #enable force mode,in this mode, the plugin will ignore the cache, and calc the abbrlink for every post even it already had abbrlink.

将Hexo推送到Github Pages

写博客的常用操作

创建新的博客

1
$ hexo new "Blog name"

更新网页内容

素质三联:清理缓存 => 生成 => 发布

1
$ hexo clean && hexo g && hexo d